Wednesday, April 13, 2022

7th Annual Masters Champions Dinner and Featuring The Augusta Azalea Cocktail


It's spring and around here that only means one thing (other than relentless snow blizzards)...it's golf season and time for The Masters and Champions Dinner.


This is our 7th year hosting the annual event.  If you're new here to this site my husband is an avid golf fan and add to that I love to host themed dinners.  This adds up to the Champions Dinner every year.


Each Masters winner must host a dinner for prior Champions every year during Masters week before the official tournament begins.


This year Hideki Matsuyama hosted a phenomenal dinner as a tribute to his Japanese heritage.  I wait and wait for the big dinner menu to be revealed then it's off to the final planning stages.  


Each couple is assigned a course from the dinner menu.  As hosts, we always take the main dish and take care of all the set up and details...including everyone's commemorative, personalized menu place card.


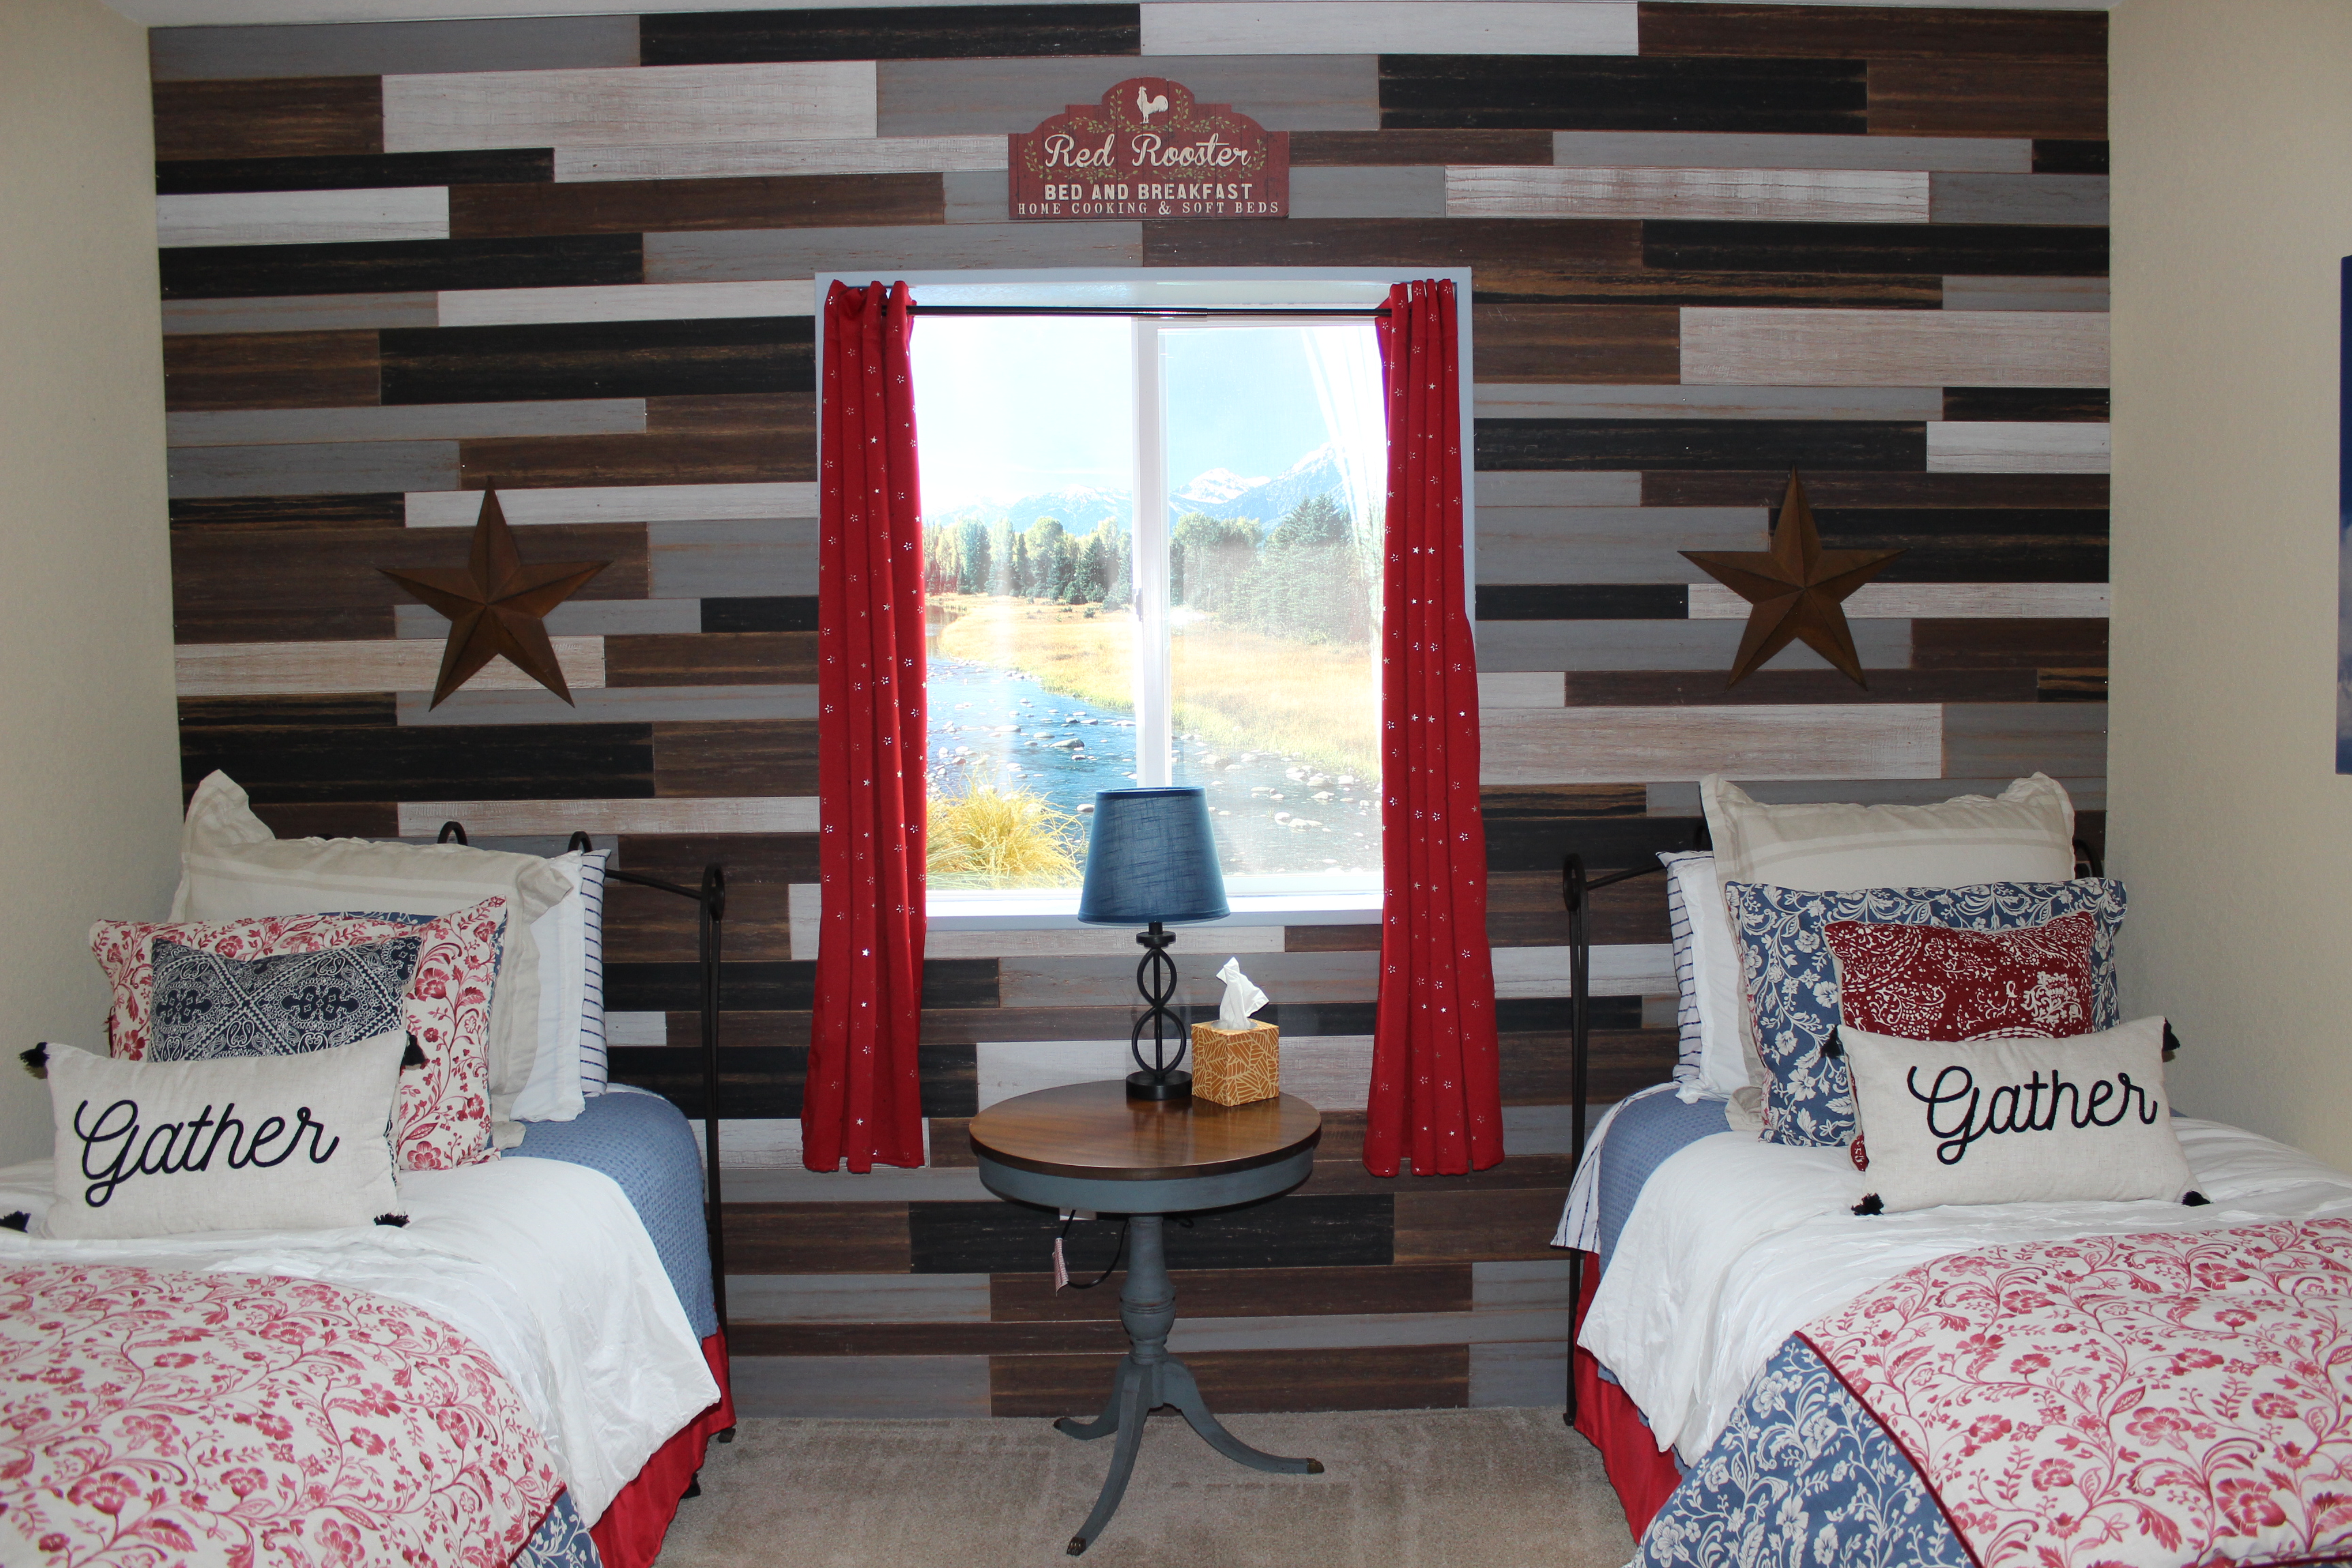
This year since our lower level is finally complete, we were blessed to have the inaugural event in our new Dining Grotto, which was just so much fun to share with everyone.


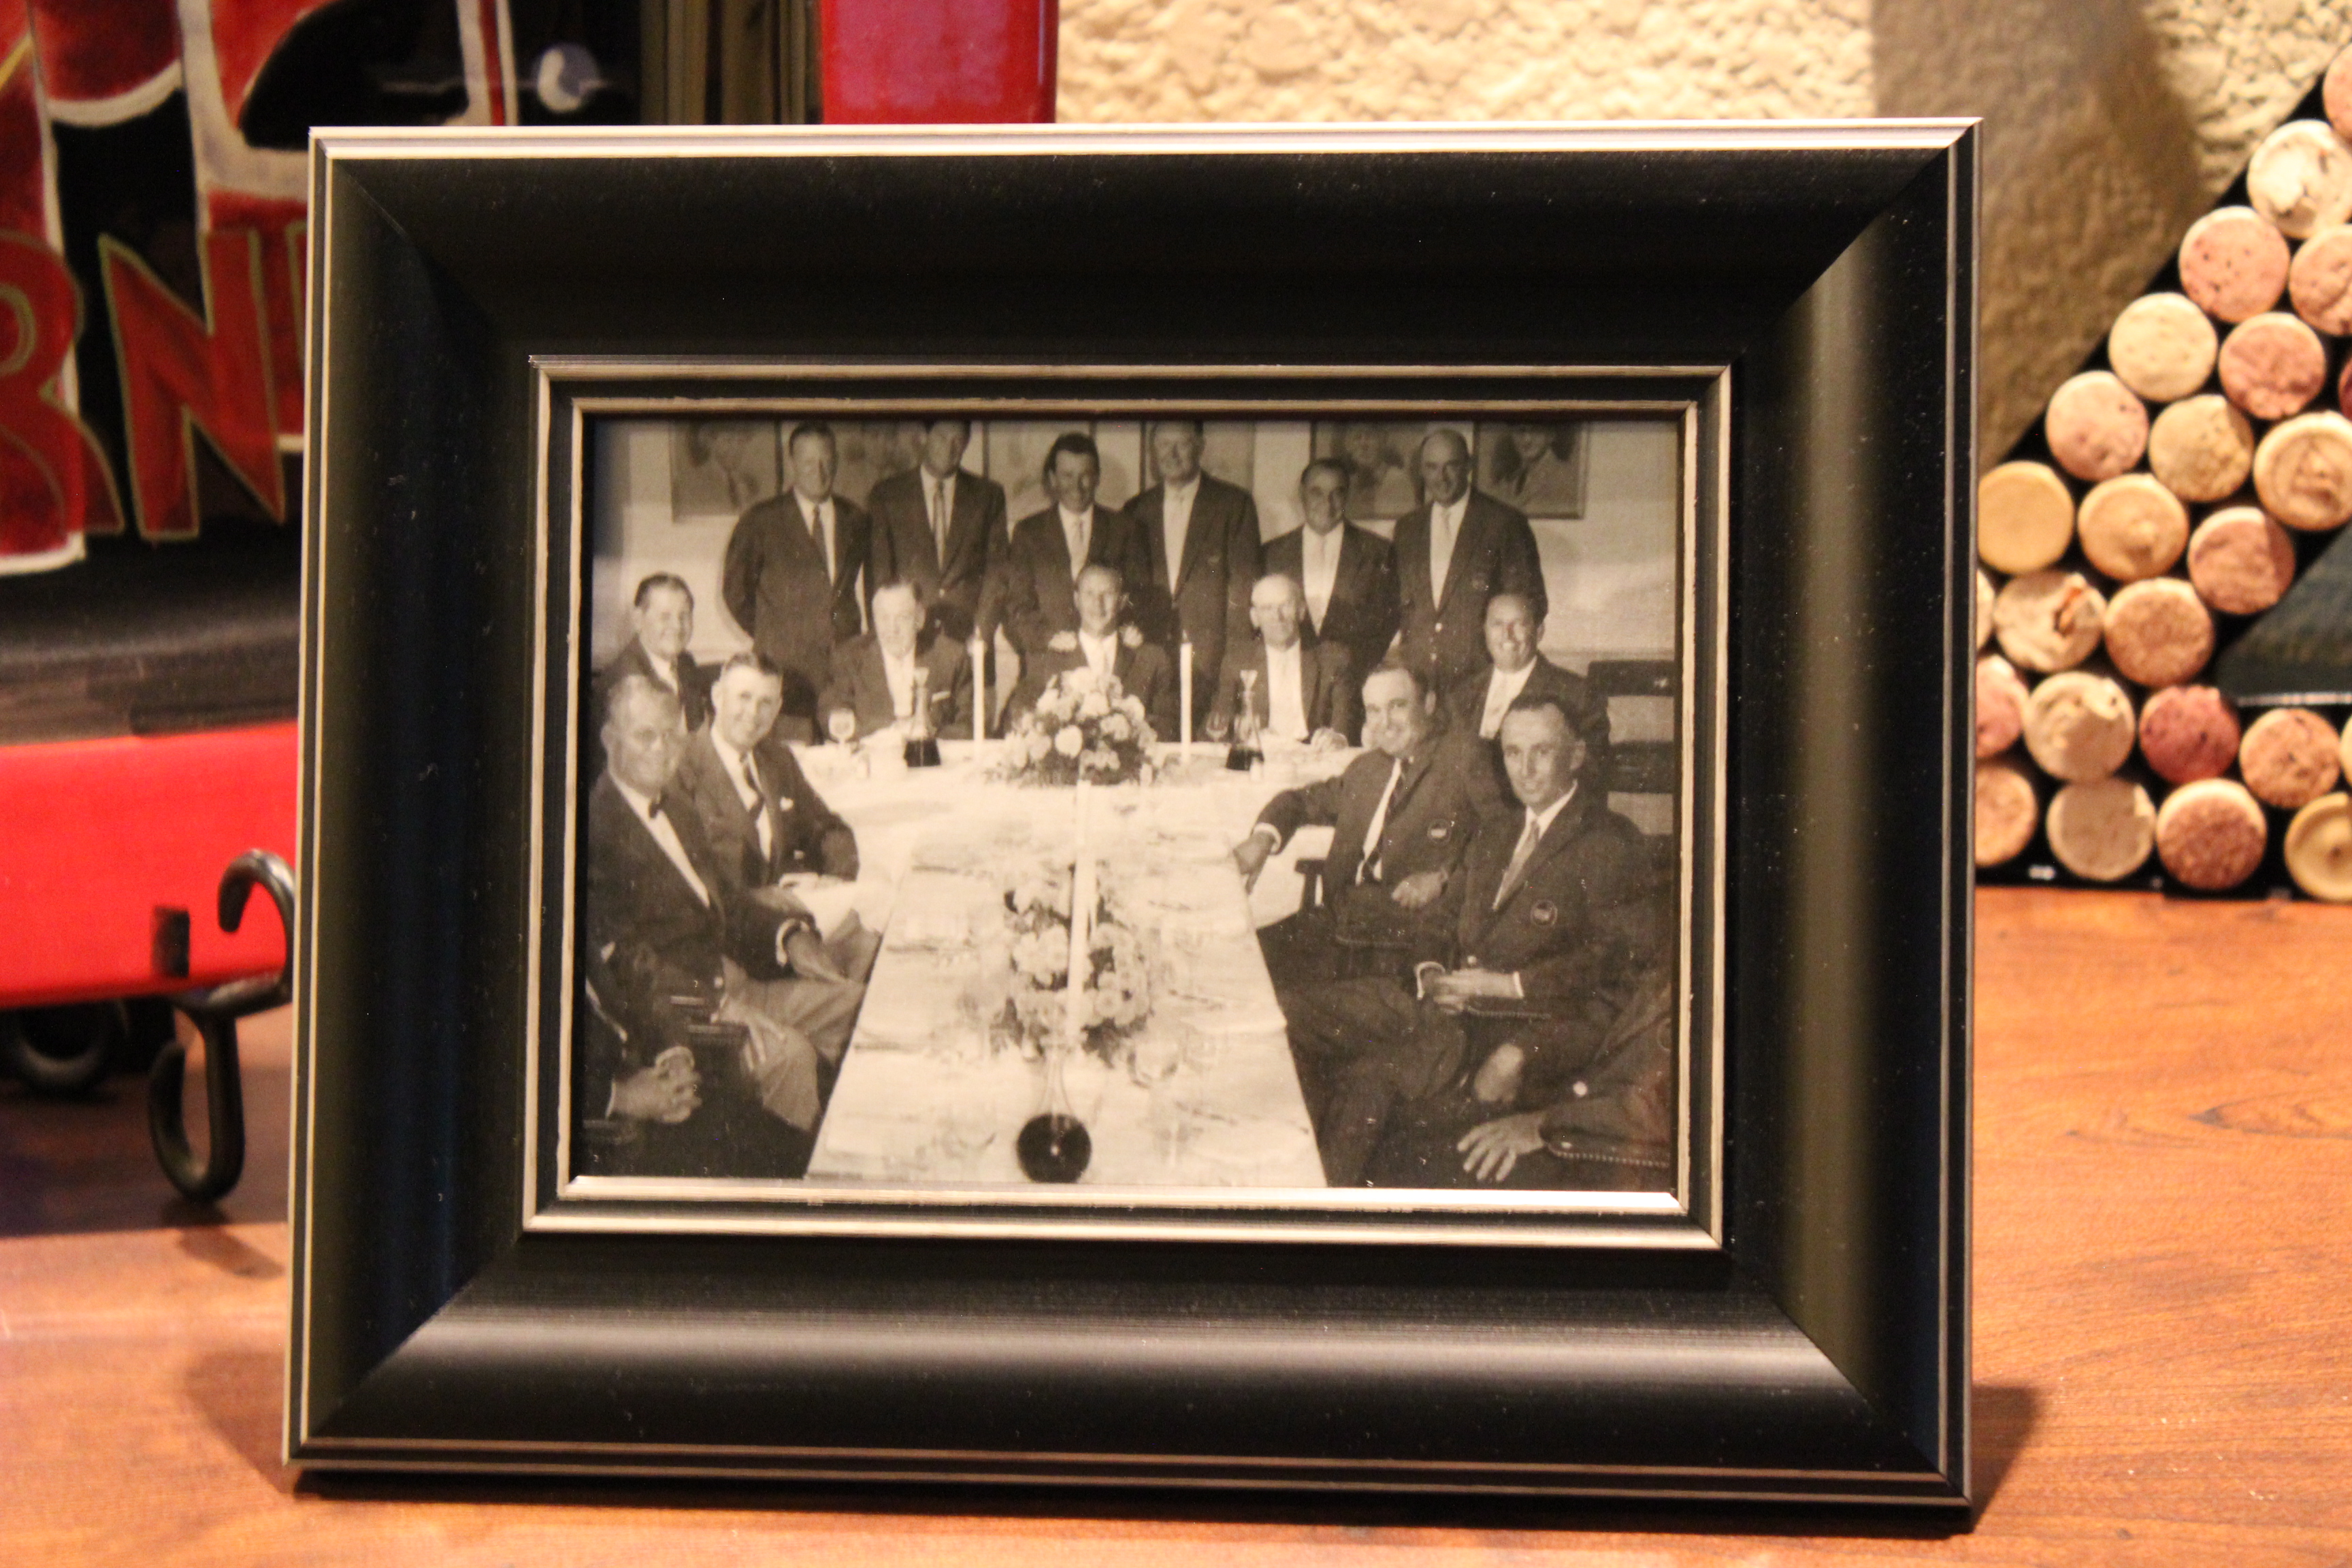
As always, the original Masters Champions Dinner portrait makes its return appearance front and center in the new bar area.


Speaking of bars...this Azalea Cocktail is by far my absolute new favorite libation!  I will be enjoying these all summer long.  I hope you enjoy them too.


Augusta's Azalea Cocktail

5 ounces lemonade, fresh-squeezed
1/2 ounce Grenadine
1-1/2 ounces Vodka
1 Maraschino cherry, garnish
1 slice orange, garnish
dried rose petals, optional

Place martini glasses in freezer one hour before serving time.

Combine the lemonade, grenadine, and vodka in a cocktail shaker with ice.  Give it a really good shake!

Strain the contents of the shaker into a chilled martini glass.

Garnish with Maraschino cherry and a slice of orange.  Add a couple tiny dried pink rose petals for floating on top.

Cheers!

One Year Ago: No Post
Five Years Ago: Creamy Rosemary Potatoes


Wednesday, April 6, 2022

Pear, Goat Cheese, and Sausage Pizza...the new Picture Perfect Window Wells


We are finally starting to see the light at the end of the tunnel....or at least in our window wells.  During our downstairs build-out/remodel, we decided that the window wells needed some love too.

We went to such lengths with every detail on the interior of the new areas that we just couldn't take the sight of our window wells ruining the views.

My husband obsessive-bee in the bonnet-contractor researched and researched what our options could be in these wells.  He found a company that makes custom window well cover liners and that's all it took to start this train.

After much patience, time, measuring and re-measuring, we were up and running.  I think he had more fun accessorizing the bottoms to coordinate with the decorative liners more than anything.  Needless to say, there were many trips to our local stone yard, Lowes, Hobby Lobby, and Michaels.  The results were awesome!  


"Before" all the lower level window wells.


The golf themed window (because of course)...and yes that is an actual golf ball we added as accessory.


So perfect for our game and movie room areas.


Up next, the "Aspen Suite".


I actually had to rummage through a local wood yard to find small pieces of Aspen and Birch trees.


And finally, the "Lodge Room".


My favorite piece is the tiny little canoe I purchased for "on the bank" of the creek.


That my friends, is our new window well reveal and we are so thrilled with how all of the windows turned out to coordinate with their rooms.

Since this took more time than we expected, I obviously have needed quick go-to dinners.  This pizza was amazing!  I love how the pear and basil just popped with freshness in every bite.  I hope you enjoy this as much as we did.

Pear, Goat Cheese, and Sausage Pizza

1 ready made pizza crust (we used Caulipower plain pizza crust)
pinch of ground black pepper
pinch of salt
1 Tbl crushed garlic
1 bartlett pear, thinly sliced
6 ounces shredded Mozzarella cheese
3 ounces crumbled goat cheese
6 ounces Italian sausage, cooked and crumbled
Honey (for drizzling)
1/4 cup fresh basil leaves, sliced into thin ribbons

Preheat oven to 400 degrees.  

On a large sheet pan, cover with parchment paper.  Place pizza crust on pan.  Brush top of crust evenly with drizzle of olive oil and brush oil to cover.  Sprinkle with salt and pepper.

Layer pears, mozzarella, goat cheese, cooked Italian sausage and crushed garlic over pizza. 
Bake 11-14 minutes until crust is golden and cheese is melted.

Remove from oven and drizzle with honey.  Sprinkle basil ribbons over pizza.  Slice and serve warm.


One Year Ago: No Post
Two Years Ago: Derby Dip and Dum-Dum
Four Years Ago: White Trash Cookies
Five Years Ago: "Clinks" Spinach Salad


Friday, April 1, 2022

Garlic Butter Chicken with Spinach and Bacon...and Chihuly Glass


Ever since I saw my first Dale Chihuly chandelier at Atlantis in the Bahamas, I became an instant fan.  Super fan if I'm being completely honest.


I have been in love with this incredible glass blowing works of art from Chihuly for years and always wanted to see one of his exhibits.


Last month while in Phoenix, I found out he had a show going at the desert gardens there.  Whenever I am on a trip I always look for adventures and expeditions to take during a visit.  This had to be fate that his pieces were there the same time as me.


My brother and I grabbed an Uber and off we went.  The weather was breathtaking and perfect.  As we walked the grounds, the sun was shining on the pieces at the perfect time to really enhance their glorious colors.


They even had a small indoor exhibit as we were leaving the property.  If you ever have the chance to see these pieces, you must treat yourself and take his tours.  I am still in awe!


While flying home, I saw this recipe online and just had to try it out.  Garlic...butter...bacon...there is nothing wrong with that sentence!  Enjoy!


Garlic Butter Chicken with Spinach and Bacon
Adapted from eatwell101

6 chicken thighs, boneless and skinless (or 3 chicken breasts)***
2 tsp olive oil
2 Tbl butter
3 Tbl minced/crushed garlic
1 small yellow onion, diced
1 cup low sodium chicken broth (or dry white wine)
1/2 cup crispy bacon, chopped
1-3/4 cups heavy whipping cream
3 cups baby spinach leaves (stems removed)
Salt and fresh cracked pepper
1 tsp Italian seasoning
1/2 cup fresh grated Parmesan cheese
Pinch of chili pepper flakes, optional
1 tsp cornstarch mixed with 1 Tbl of water (optional, if you like a thicker sauce)

Heat the oil in a large skillet over medium heat.  Season the chicken thighs on both sides with salt and pepper, and sear in the pan for 5-8 minutes on each side, or until cooked through  Once cooked, remove chicken from the pan and set aside.  

Melt the butter in the remaining cooking juices leftover in the pan.  Add in the onion and garlic and saute until fragrant (about one minute).  Pour in the chicken stock (or white wine, if using), and allow to reduce down slightly.  Add the crispy bacon and fry for 1-2 minutes to release the flavors.

Reduce heat to low heat, add the heavy cream and bring to a gentle simmer while stirring occasionally.  Make sure to lower the heat to avoid the sauce to separate.  Add Italian seasoning and season with salt and pepper to your taste.

Add in the spinach leaves and allow to wilt in the sauce, and add in the Parmesan cheese.  Allow sauce to simmer for another minute until the cheese melts through the sauce.  For a thicker sauce, add the cornstarch mixture to the skillet and continue to simmer while quickly stirring the mixture through until the sauce thickens.

Add the cooked chicken and it's juices back into the pan; sprinkle with chili pepper flakes (if using), and spoon the sauce over each chicken thigh.

***If using chicken breasts instead of chicken thighs, slice them horizontally to make 2 halves and make the thickness even.  The chicken will cook faster this way.

Serve over gnocchi, pasta, rice, zoodles, cauliflower rice, or steamed veggies.


One Year Ago: No Post
Two Years Ago: Aspen Coffee
Four Years Ago:  No Post
Six Years Ago: Bunny Bark and Blizzards
Seven Years Ago: Pear Salad and the CIA
 

Wednesday, March 16, 2022

Spaghetti with Black Olives and Orange Zest, and Mini Bar in a Jar


In going through my blog drafts que, I found this treasure that I was supposed to publish last year.  However, as reported last week, that just wasn't in the cards due to my "vacation".

If you are practicing Lent, this is a wonderful no meat option.  Super fresh and bright flavors that just scream, don't worry...summer is around the corner, to me.

We are in for another Winter Weather Warning the next 2 days, because of course it was 68 degrees yesterday, so why not throw in a little storm.  Ugh!!  Well our plants and lawn could use some moisture, just as long as the chill goes away by this weekend...please. 


In other news, our daughters' friends recently moved into their first out of college-adult apartment.  I couldn't resist making a "Mini Bar in a Jar" for their place...perfect for a guys housewarming gift.    Honestly, I had way too much fun putting this together.


Spaghetti with Black Olives and Orange Zest

Courtesy of Sammy Hagar's "Are We Having Any Fun Yet!" Cookbook (The Maui Chapter)

1/4 cup olive oil
1 onion, chopped
3 cloves garlic, minced
grated zest of one orange
1 cup Italian black olives, chopped (from your deli, not the canned olives)
1/2 pound spaghetti
1/4 cup grated Parmesan
1/4 cup chopped fresh basil leaves
salt and freshly ground black pepper

In a large nonstick skillet, heat the olive oil over medium-high heat; add the onion and sauté until translucent, then add the garlic, and cook for a little less than a minute, just until it starts to soften.

Add the orange zest and olives and stir them around with the garlic and oil.  Remove the skillet from the heat.

Bring a large pot of salted water to a boil.  Cook the spaghetti until almost al dente, then drain the pasta, reserving about a cup of cooking water.  "You might not need it.  Then again, you might."

Dump the nearly al dente spaghetti in the skillet with the orange zest, garlic, and olives and finish cooking, over medium-high heat.  If the pasta seems dry, spoon in a tablespoon of pasta water.

Toss the spaghetti in a bowl with a few tablespoons of Parmesan, saving the rest of the grated cheese for the table.  Garnish with basil.  Add salt and pepper to taste.  Serve.

** Side note:  I only used 1/2 of an onion, and substituted the spaghetti with whole wheat thin spaghetti.  It was still amazing!!!

One Year Ago: No Post
Seven Years Ago:  Luck of The Irish Cupcakes

Wednesday, March 9, 2022

Return to Fork and Cork with Recipe for Irish Cheddar Shepherd's Pie


It has been exactly one year since I was here.  It's been a long year, but it's very good to be back.

Hiatus, vacation, decompressing...there are a thousand words to describe the past year and my temporary departure.

It all started in mid-March with a fun bout of identity theft (for the third time in my life) I might add.  I became very frustrated and vulnerable with all my accounts at risk, so I went off the grid.  No social accounts, changed every single password and just kept a much needed, very low profile.

So, what did I do for the past year?  Well, here's a snippet of what's been going on.  There will be more to share and lots of photos in the near future but until then....

March 2021 - Police reports dealing with my identity theft.  Mourning again over the loss after one year of my Grandmother and Sister-In-Law passings.

April 2021 - Our annual Masters Champions Dinner event was a huge success and so much fun once again.

May 2021 - "Baby A" graduates college.  I may have cried...okay a lot!

June 2021 - Complete bedrooms in our new lower level construction/remodel.  Finish our exterior fence and add railroad tie steps to side yard.

July 2021 - Attend family wedding in Southern California...aka huge family reunion for my husband.

August 2021 - Travel to Alaska to check in on family and visit old friends.

September 2021 - Double concert month.  Jonas Brothers at Red Rocks with my daughters and later that month, bucket list of Doobie Brothers concert with husband.  Both events were so much fun and memorable!

October 2021 - Entered our little town's first Bake Off with my GGma's Snickerdoodles.  Finished our lower level new bathroom, which is a beautiful spa feel.  I LOVE this bath.  Attended another bucket list concert with my husband at Little River Band.

November 2021 - Finished our Wine Grotto formal dining room in lower level, with just days to spare for our Thanksgiving family guests from California.  Attended the Van Gogh Immersive Experience, which was amazing to see.

December 2021 - "Baby B" graduates college...yes, more tears were shed.  Husband birthday, Christmas, then follow up with twins' birthday, etc...

January 2022 - Survived an extensive office move that just about did me in.  By the Grace of God, we made it through and successfully.

February 2022 - Traveled to Arizona to spend my birthday weekend with my brother and niece.  Experienced amazing restaurant, The Sicilian Butcher.  Another bucket list check off...visiting Dale Chihuly outdoor exhibit in Phoenix was positively breathtaking.

March 2022 - Well this brings us to today.  I recently returned from Alaska after another visit with family.  Gearing up for Spring projects and some other events coming up in the near future.

And now back to cooking and recipes...  

If you're celebrating any type of St. Patrick's next week, you will love this pie.  One pot beauty that will take the chill off and bring comforting warmth to your home.  Enjoy.


Irish Cheddar Shepherd's Pie

Meat Filling:

2 Tbl olive oil
1 medium chopped yellow onion
1 pound lean ground beef
1 tsp dried parsley leaves
1/2 tsp dried rosemary leaves
1/2 tsp dried thyme leaves
1/2 tsp salt
1/4 tsp ground black pepper
1 Tbl Worcestershire sauce
2 Tbl crushed garlic
2 Tbl all-purpose flour
2 Tbl tomato paste
1 cup beef broth
2 cups frozen mixed peas and carrot
3-4 cups prepared mashed potatoes
2 cups shredded Irish white cheddar cheese

Preheat oven to 400 degrees.

In a large cast iron skillet, add the oil and place it over medium-high heat.  Add the onions.  Cook for about 5 minutes, stirring occasionally.

Add the ground beef to the skillet and break apart with wooden spoon.  Add the parsley, rosemary, thyme, salt, and pepper.  Stir well. Cook for 6-8 minutes, until the meat is browned, stirring occasionally.

Add the Worcestershire sauce and garlic.  Stir to combine and cook for 1 minute.

Add the flour.  Stir until the raw flour is cooked off, about 5 minutes.  Add the tomato paste and stir well to incorporate.

Add the broth and frozen peas and carrots.  Bring to a boil, then reduce and simmer for about 5 minutes.

Remove iron skillet from burner.  Spread the prepared mashed potatoes carefully over the meat mixture in an even layer.

Bake for 20 minutes.  Remove skillet from oven and sprinkle the white cheddar cheese over all the mashed potatoes.  Return to oven and bake for another 5 minutes.

Remove from oven and let cool about 10 minutes before serving.


Eight Years Ago: Chile-Cheese Egg Bake

Tuesday, March 9, 2021

Copycat P.F. Chang's Chili Sauce and Sofas

It has been a full month of weekend projects and I'm happy to say the end is closing near.  Four straight weekends of hard physical work, I recover during the week and then we're back at it again on Saturday/Sunday mornings.  I have never been in so much pain in my life.  Muscles that I didn't even know that I owned have been screaming at me.  You know what they say though...no pain, no gain.


We have now changed our upstairs flooring (check back later this month for more on that...), and installed our downstairs flooring.  As you know, when you change just one thing, the domino effect starts falling...quickly.


We decided last summer that our sofa, loveseat, chair and ottoman were tired...very, very tired.  We think they are 16 years old.  16 years of kids, dogs, recuperating sick days home, evening debriefings, parties and celebrations, quiet book reading coffee times, family game and movie nights, and 5 residential moves.  

In this time, I had them reupholstered once, and I spent countless afternoons using leather conditioning treatments (which by the way is also a great arm workout).  There wasn't much more I could do to keep up their appearance, it was time to say good-bye.  I advertised them on the free page of Craigslist and someone from Wyoming drove all the way here to pick up the furniture for his new "man cave" he was building...perfect!


We placed our order of the new furnishings and waited...and waited...and waited.  Our six to eight week lead time turned into five months.  In the end though, it all worked out and was worth the wait.


What was once old, is now a new refreshed living room.  Even Princess Brinkley clearly approves of if all.


Since every waking weekend moment and dollar has been focused on the house, we really don't go out much at all for meals.  However, one of our favorite restaurants for special occasions is P.F. Chang's.


We always start our evening with their Steamed Handmade Shrimp Dumplings.  They serve them with a chili sauce drizzle that is simply out of this world.  We always ask for extra sauce.  Honestly, we could ask for a bucket and it wouldn't be enough.

Luckily, after many years of trial and error, we have conquered this sauce to make at home with our own dumplings.  So, so good and ridiculous how easy it is!


Copycat P.F. Chang's Chili Sauce

1/4 cup sugar
1/2 cup water
2 Tbl soy sauce
2 Tbl rice wine vinegar
2 Tbl ketchup
1 Tbl lemon juice
1/8 tsp sesame oil
1 Tbl hot Chinese mustard
2 tsp water
1-2 tsp garlic and chili paste

Dissolve the sugar in 1/2 cup water, stirring until completely incorporated.  Add the rest of ingredients and slowly whisk to combine.

This sauce is also super great to drizzle over grilled meats, shrimp, or rice.

One Year Ago:  Shrimp Cucumber Bites
Seven Years Ago:  Chile-Cheese Egg Bake

Friday, March 5, 2021

Spinach-Ricotta Ravioli with Lemon Butter Sauce

Oh my goodness!  Have you been catching Stanley Tucci: Searching for Italy on Sunday nights CNN travel channel?  I am so hooked on this series...once again I am fully convinced that somewhere in my DNA, I am Italian.


It goes without saying how charming Stanley Tucci is, but the places he takes you, the scenery landscape and architecture, and the people he introduces to your living room every week is breathtaking.  

The food though!  By the end of each episode, I am starving (and I have usually watched after eating dinner already).  I am determined to try and make at least one dish from each episode and region that Stanley visits.

Before I get started on that adventure though, I did make this Spinach-Ricotta Ravioli with Lemon Butter Sauce.  This sauce is so beautiful and silky and the pop of lemon just screams Spring, which we are all ready for around here.  How about you?

This dish (less the chicken that we had with it that evening), would also make for a great Lent meatless dinner.


Spinach-Ricotta Ravioli with Lemon Butter Sauce

1 package (1 lb.) frozen Spinach & Ricotta ravioli
4 Tbl unsalted butter
2 lemons, zested and juiced
salt and freshly ground black pepper
1/4 cup heavy cream
1/2 cup freshly grated Parmesan cheese

Bring a large pot of salted water to a boil over high heat.  Cook ravioli according to package directions.  Reserve 1/2 cup pasta water after the ravioli has finished cooking.

While the ravioli is boiling, make the sauce.  In a large skillet over medium heat, melt the butter.  Add the lemon zest and juice.  Add 1/4 cup pasta water and bring to a low simmer.  Season with salt and pepper.

Add the cooked ravioli to the skillet and carefully toss to coat in the sauce.  Stir in the heavy cream, and if the pasta looks dry, add a little more pasta water.  Turn off the heat and stir in the Parmesan cheese.

Plate and serve with more Parm...enjoy!

Two Years Ago:  "Man"estrone Soup


Tuesday, March 2, 2021

Butter-Basted Rib Eye Steaks

Spring is around the corner...I can see, smell, and taste it on a daily basis.  The stores are displaying their newest lines of patio furniture and the latest BBQs and smokers are showing up every weekend.  I for one, cannot wait to be back out in some warmer weather again.

We have been experiencing some high 50's days which has been making for wonderful lunch time walking weather and yet unfortunately teasing me because I know another blizzard will be making an appearance next week.


We have been eating a lot of chicken and seafood lately.  I was craving a steak like nobody's business this week.  Mama was on a carnivore mission to say the least.

I wanted to cook outside, but the night temperatures are too difficult to get the grill or Traeger where they need to be.  Since I just cleaned my ovens, broiling was out of the question.

I remembered seeing an episode of Chopped After Hours a long time ago.  If you have not seen one of these episodes, you must.  They are hilarious and you get to see the chefs in a whole other light.  This one I saw with Scott Conant and he was basting a steak in a cast iron skillet to cook it.  I think I may have started drooling!!  Great camera work, because it looked amazing!


So, I started researching and studying.  I can do this.  I know this, I got this!  WOW!!!  Just, WOW!!
I may never cook steak any other way than this.  Unbelievably great.  Get yourself a cast iron skillet (and an apron), this method is so worth it.


Butter-Basted Rib Eye Steaks
Courtesy of Food & Wine magazine

2 (1-1/4 pound) bone-in rib eye steaks
Kosher salt
Freshly ground pepper
2 Tbl canola oil
4 Tbl unsalted butter
4 thyme sprigs
3 garlic cloves, peeled
1 rosemary sprig

Season the rib eye steaks all over with salt and freshly ground pepper.  Let the meat stand at room temperature for 30 minutes.

In a large cast iron skillet, heat the canola oil until shimmering.  Add the steaks and cook over high heat until crusty on the bottom, about 5 minutes.  Turn the steaks over and add the butter, thyme, garlic, and rosemary to the skillet.  Cook over high heat, basting the steaks with the melted butter, garlic, and herbs, until the steaks are medium-rare, 5 to 7 minutes longer.  Transfer the steaks to a cutting board and let rest for 10 minutes.  Cut the steaks off the bone, then slice the meat across the grain and serve.

**I also added a dollop of blue cheese compound butter on the steaks, which takes this over the top!

We enjoyed the dinner with Rickshaw Cabernet Sauvignon.


One Year Ago:  Winter Minestrone